Bottle polishing is a meticulous process that breathes new life into glass and plastic. Through careful techniques like mechanical polishing and chemical cleaning, bottles shed their scratches and imperfections, revealing a smooth and clear surface.
This revitalization not only enhances the bottle’s appearance but also extends its usability, from repurposing in creative DIY projects to promoting sustainable practices. Bottle polishing embodies the art of restoration, turning old containers into polished reminders of simplicity and practicality.

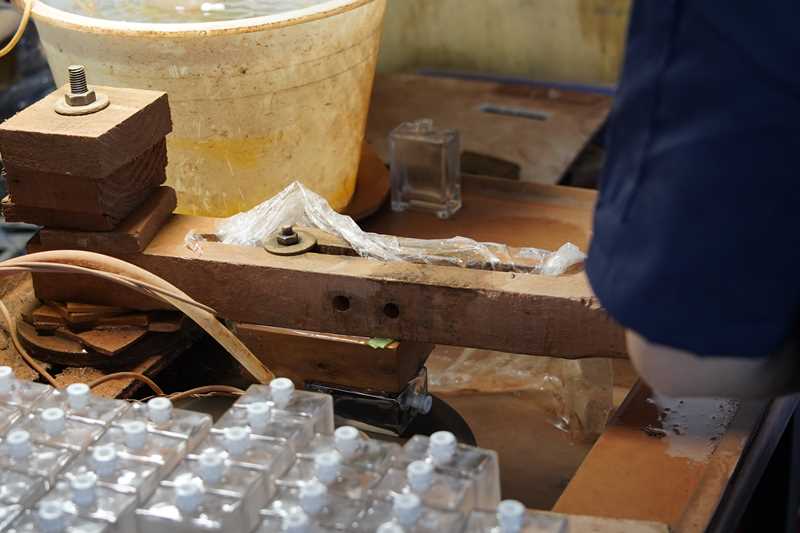
Hand Polish
Begin by choosing an appropriate abrasive material, like sandpaper or polishing pads, based on the condition of the bottle’s surface.
Hold the abrasive firmly against the bottle and apply controlled pressure as you rub it in a back-and-forth or circular motion. This process effectively diminishes imperfections such as scratches and cloudiness.
Direct more attention to problem areas as required, maintaining consistent pressure for even results. With meticulous effort, the abrasive material gradually restores the bottle’s luster, yielding a refined and polished outcome.
The Hand-Polish Process
The hand-throwing method of bottle polishing unfolds in a series of steps designed to restore your bottle’s splendor.
- Abrasives Selection: Begin by selecting the right abrasive material, choosing coarser grits for deep marks and finer grits for an even, polished finish.
- Precise Application: Hold the abrasive against the bottle’s surface, exerting measured pressure to ensure controlled movement.
- Gentle Motion: Employ deliberate back-and-forth or circular motions, using the abrasive to gently smooth away imperfections.
- Focused Treatment: Concentrate on problem areas, applying more pressure where needed to refine scratches and blemishes.
- Steadfast Approach: Maintain your motion consistently, pausing periodically to gauge progress.
The hand-throwing technique meticulously nurtures your bottle’s transformation, gradually enhancing its visual appeal and uncovering its true brilliance.
Advantages
Precision: Hand-throwing allows for precise targeting of imperfections, making it ideal for detailed work.
Artisanal Quality: The method imparts a personalized touch, as each bottle receives individual attention and care.
Controlled Process:You have complete control over the polishing process, ensuring delicate bottles are handled with care.
Fine Detailing: Hand-throwing is suitable for intricate designs and small-scale projects, delivering meticulous results.
Disadvantages
Time-Consuming: Hand-throwing can be time-intensive, especially for larger quantities of bottles.
Labor-Intensive: The process requires manual effort, potentially causing fatigue during prolonged sessions.
Limited Efficiency: When dealing with a high volume of bottles, hand-throwing might not be the most efficient method.

Fire Polish
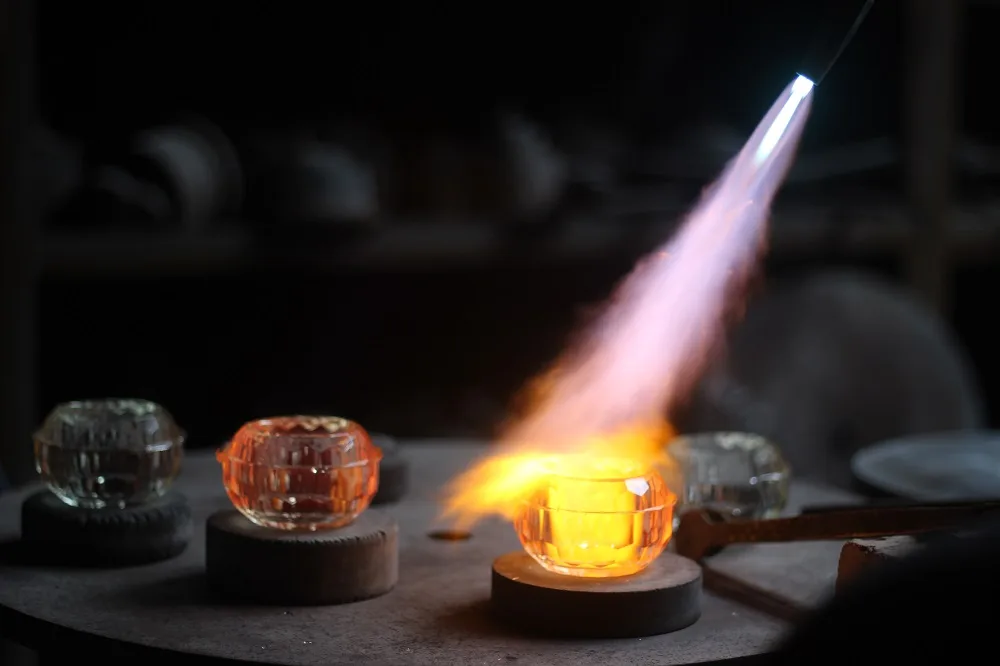
In fire polishing, the glass bottle’s surface undergoes a graceful transformation through controlled heat. Begin by evenly subjecting the bottle to warmth using a flame or kiln.
This gentle heat softens minor surface irregularities, allowing them to meld seamlessly. Vigilance is essential to prevent overheating and maintain the bottle’s integrity.
Proficiency in this technique reveals a refined finish, highlighting the bottle’s innate charm with the artistry of controlled heat.
The Fire-Polish Process
- Setup: Begin with a suitable heat source, such as a torch or kiln, capable of delivering controlled and consistent heat.
- Even Exposure: Securely hold the glass bottle while evenly exposing its surface to the heat. Rotate the bottle continuously for uniform heat distribution.
- Smoothing Effect: Gentle heat melts minor surface irregularities, seamlessly blending them to create a smoother texture.
- Monitoring: Carefully monitor the process to avoid overexposure. Maintain a safe distance between the heat source and the bottle to prevent distortion.
- Cooling Transition: Once the desired effect is achieved, remove the bottle from the heat source and allow it to cool naturally to prevent thermal shock.
- Finishing Inspection: Assess the bottle’s surface for a glossy, polished finish. Address any spots that may need additional attention.
The fire polishing process is a skilled endeavor, utilizing controlled heat to transform glass bottles into polished gems.
Advantages
Efficiency: Fire-throwing is efficient for mass polishing, making it suitable for larger quantities of bottles.
Uniform Results: Heat helps in achieving more uniform results across multiple bottles.
Time-Saving: The method can save time compared to hand-throwing, as multiple bottles can be polished simultaneously.
Surface Transformation: Heat subtly transforms the surface, softening edges and blending imperfections.
Disadvantages
Limited Precision: Fire-throwing might not be as precise as hand-throwing, making it less suitable for intricate detailing.
Less Personalized: The process lacks the artisanal touch of individual attention given to each bottle.
Risk of Overheating: Care must be taken to avoid overheating and potential distortion of the bottle’s shape.
Equipment Requirement: Fire-throwing requires proper equipment and safety precautions, adding a level of complexity.
Conclude
Hand-throwing and fire-throwing illuminate the crossroads of bottle polishing. Hand-throwing, an artisan’s brush, lends individuality to each vessel, while fire-throwing, a furnace of efficiency, transforms many at once.
These divergent paths share a common purpose: to renew, to elevate, and to bring out the brilliance within. In the world of bottle polishing, the choice is not merely between techniques; it’s a choice to restore, to reveal, and to shape raw materials into refined beauty.

